Notice
We have removed our products from the WooCommerce.com marketplace as part of our decision to centralize sales, licensing, and customer support directly through externalimagesplugin.com. This allows us to provide faster updates, clearer communication, and more direct support without third-party limitations.
We continue to provide full support for all existing WooCommerce.com subscribers. When contacting support, please include your WooCommerce.com order number, and we’ll be happy to assist you.
All renewals, new licenses, and future purchases are now handled exclusively through our official website.
This documentation explains how to import external images into WooCommerce products using the built-in Product CSV Importer, WordPress External Images plugin and the WooCommerce CSV Importer addon. With this solution, image files are not downloaded to your server, your product images remain hosted externally and are displayed dynamically.
When preparing your product data in a spreadsheet, use the following guidelines:
http:// or https://).https://example.com/image1.jpg,https://example.com/image2.jpg,https://example.com/image3.jpg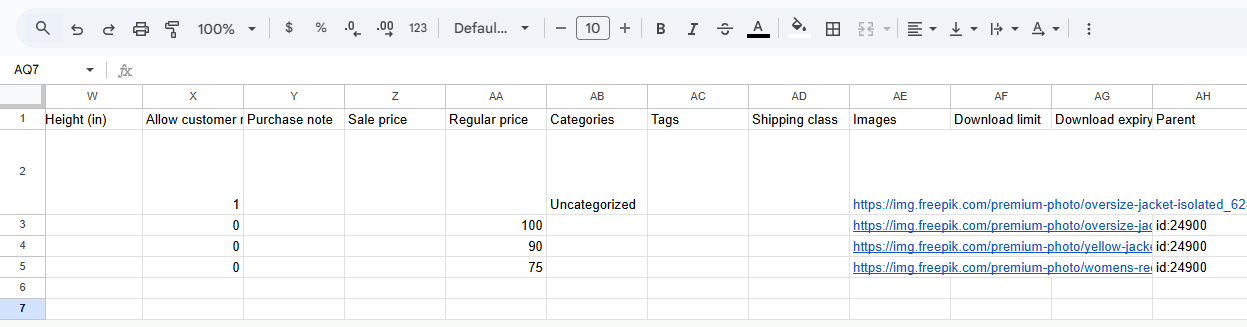

On the Column Mapping screen:
Images column is mapped to “External Images”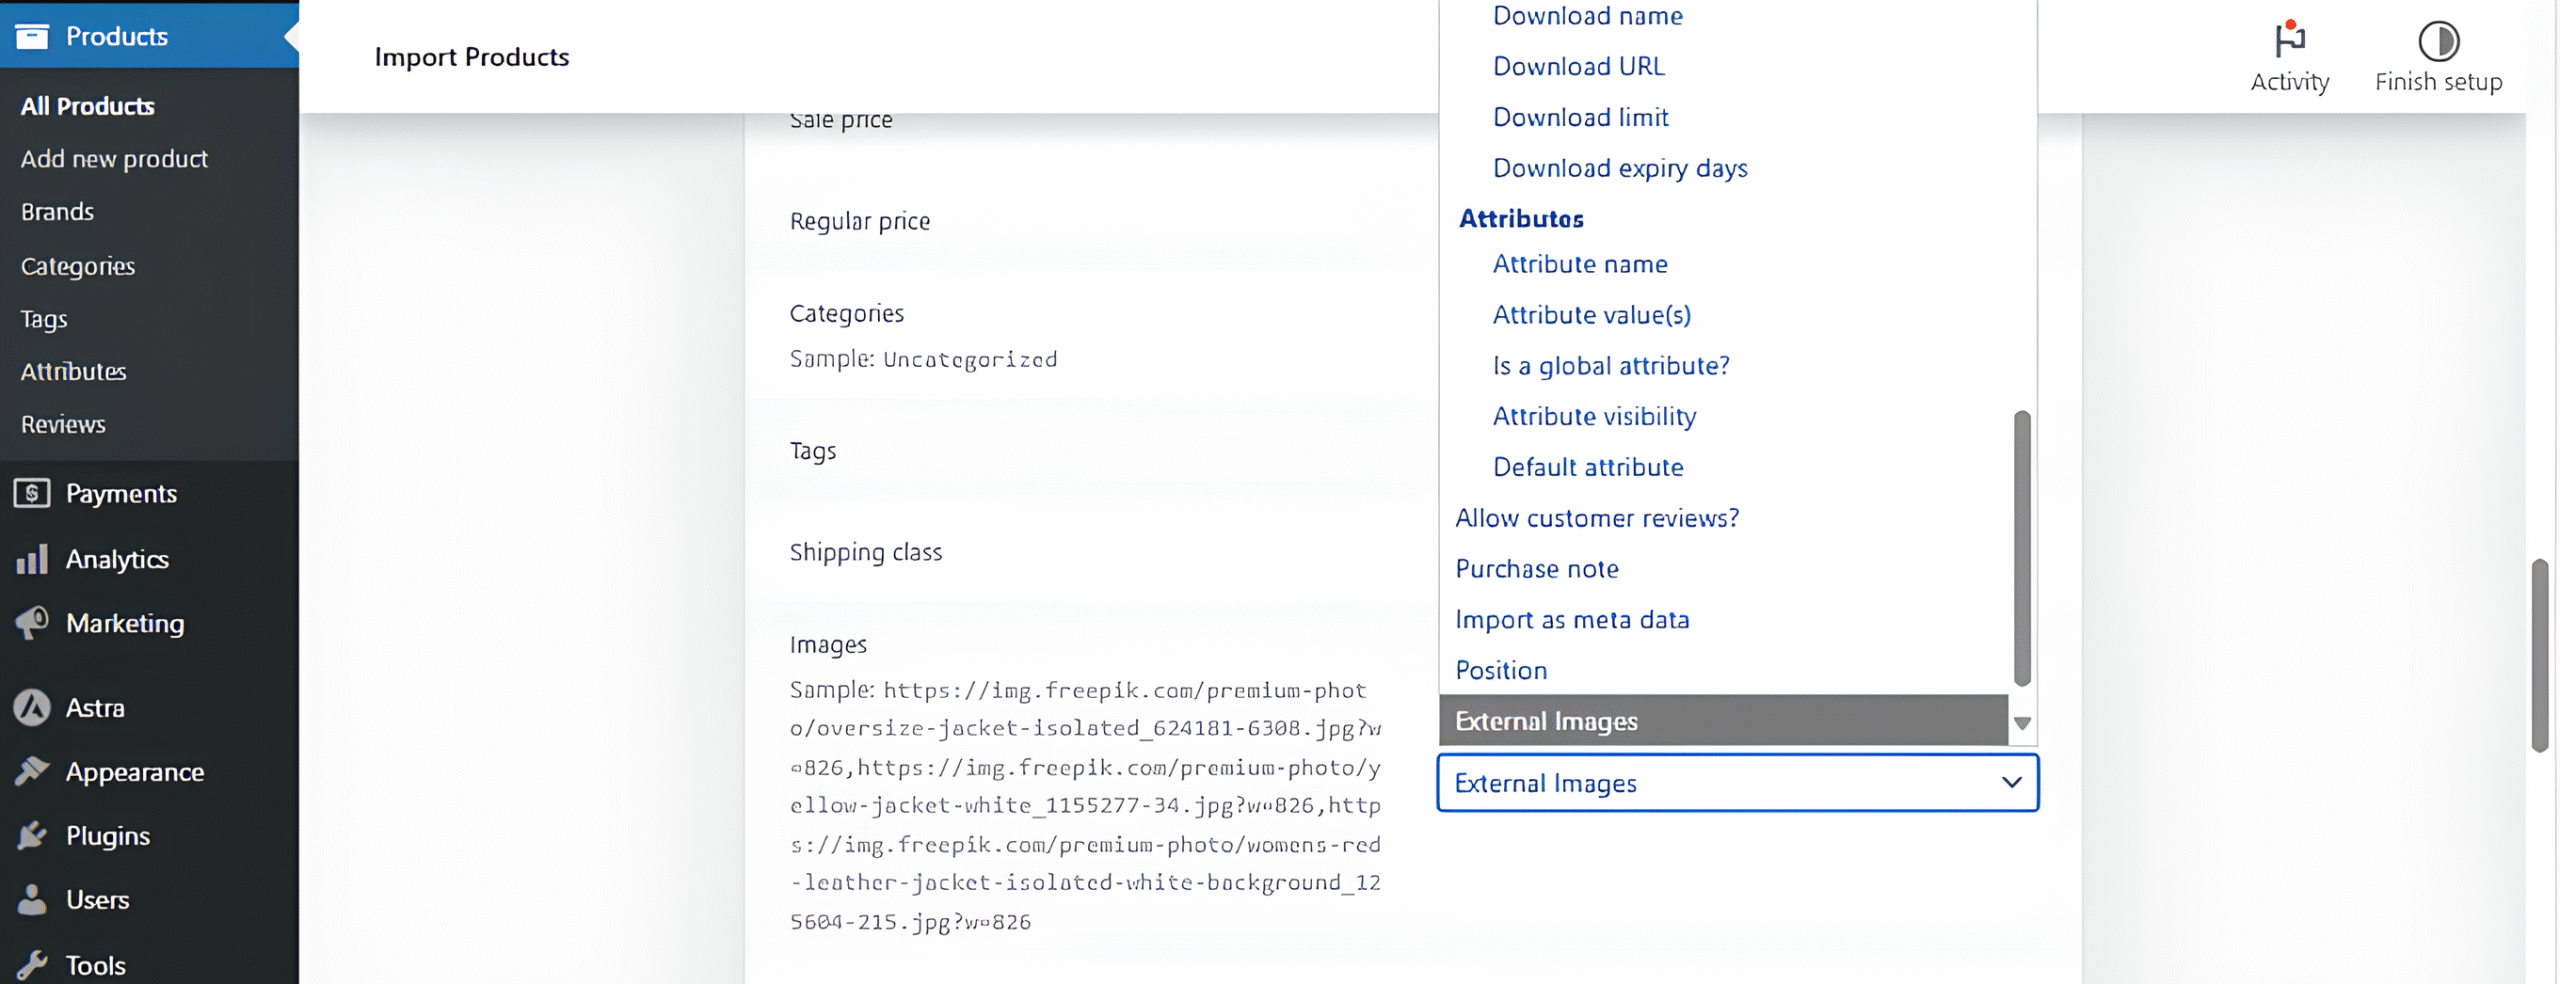
External images are not downloaded; they remain hosted externally. To ensure proper display, URLs must be valid, publicly accessible, and point directly to an image file such as .jpg, .png. Images should be mapped to the Images column in the CSV to become the product’s main image. To add gallery images, include multiple URLs in the Images column of the parent (variable) row; any URLs after the first—separated by commas—will automatically be treated as gallery images. For example: image1.png, image2.png, image3.png will set image1.png as the featured image and image2.png and image3.png as gallery images. To assign external images to product variations, paste the image URL into the Images column of the variation row; this will set it as the product image for that specific variation.
| Issue | Solution |
|---|---|
| Image not showing | Make sure the URL is valid and publicly accessible |
| Placeholder shown | Check if the External Images plugin is active |
| Gallery missing | Confirm URLs are comma-separated in the Images column |